Wart Freeze Treatments: What to Expect and How They Work
Laser hair removal is a popular method of removing unwanted body hair. It has become even more common in the last few years.
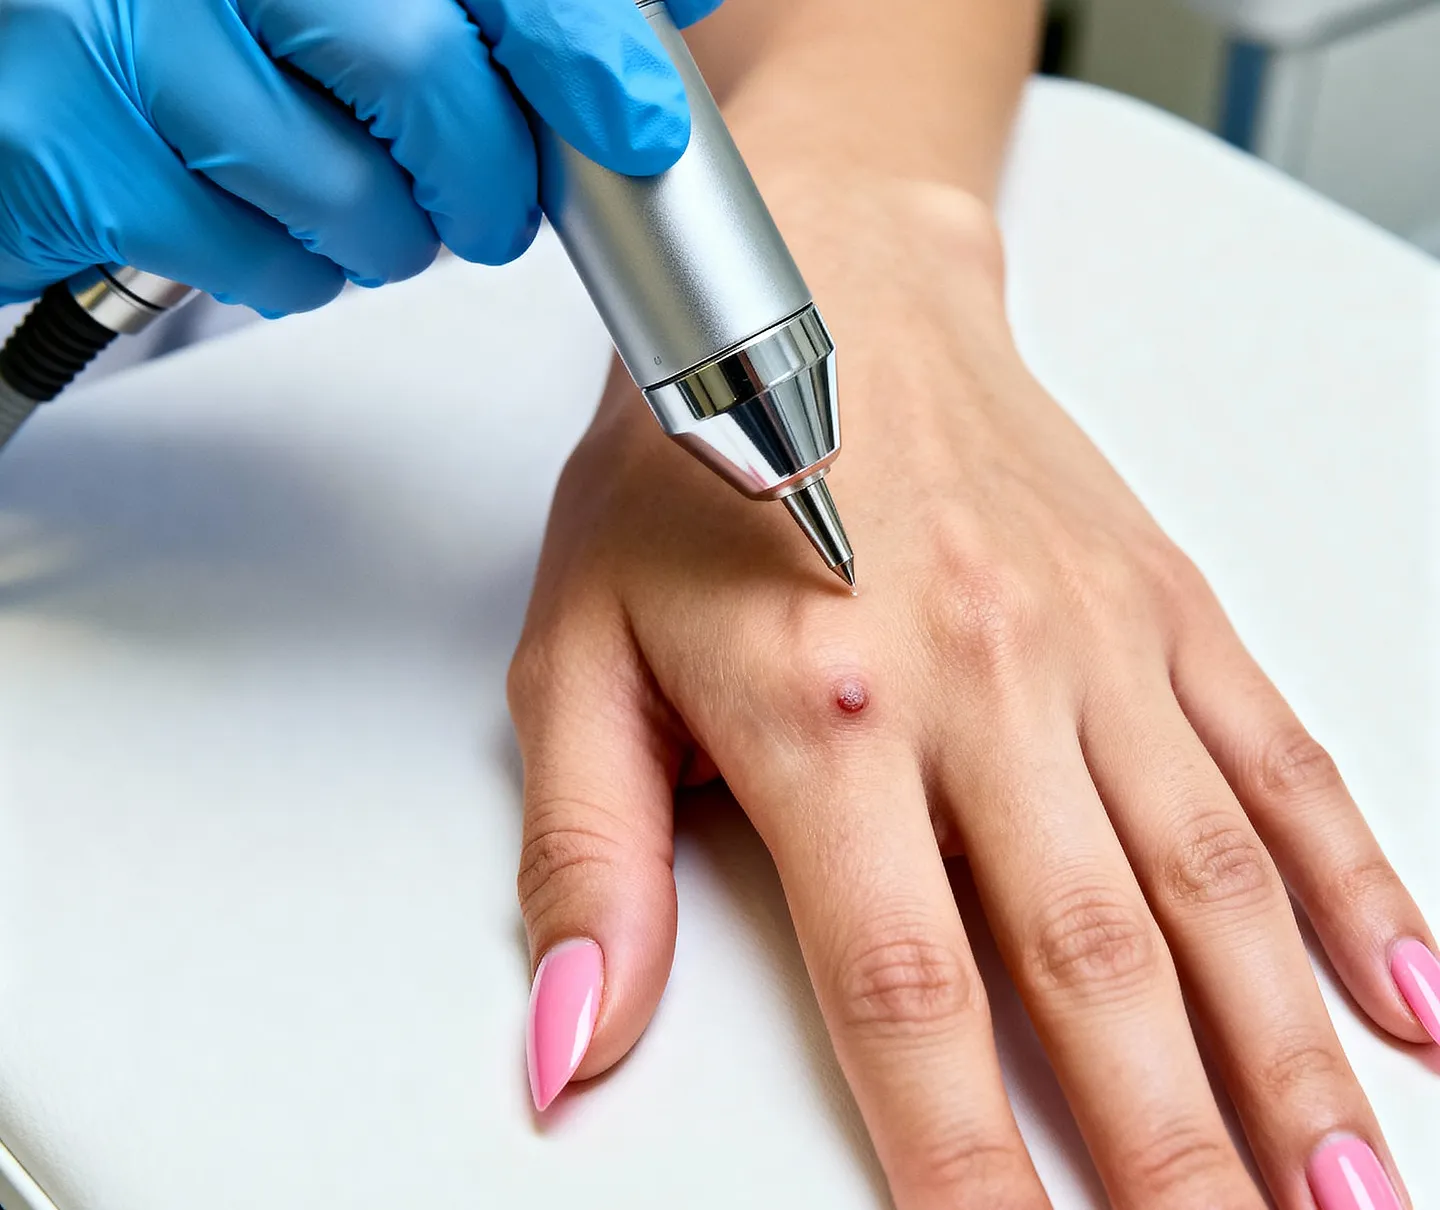
For many, the discovery of a small, rough growth on the hand or the sole of the foot brings a flash of frustration. Warts are more than just a cosmetic nuisance; they are stubborn viral invaders that have historically prompted an array of "old wives' tales" and kitchen-cupboard remedies. From duct tape to lemon juice, the search for a cure is often long and underwhelming.
Modern wart freezers have distilled complex liquid nitrogen procedures into a sophisticated, consumer-friendly format. By utilising the principles of rapid thermal energy transfer, these treatments allow individuals to address the underlying cause of the lesion with clinical precision.
The Physics of Sub-Zero Healing
Warts are caused by the Human Papillomavirus (HPV), a resilient pathogen that hijacks the skin’s keratinocytes. Because the virus effectively "hides" from the immune system within these layers of skin, a simple topical ointment often fails to reach the root.
When you use a product such as Compound W Freeze Off, the device utilises a specific blend of cooling gas—typically dimethyl ether and propane—to induce an immediate and extreme drop in temperature. This creates microscopic ice crystals within the infected cells, rupturing the cell membranes of the HPV-infected tissue.
The targeted action serves two purposes:
- Physical Destruction: It shatters the structure of the wart.
- Immune Trigger: The localised tissue damage alerts the body’s immune system to the presence of the virus, "unmasking" the infection.
"This is a calculated biological intervention designed to trigger the body’s own healing mechanisms while neutralising the virus at its source."
Mastering the Home Treatment
Precision is paramount; you are aiming to freeze the viral core without causing unnecessary trauma to the surrounding healthy dermis.
1. Preparation
Wash common warts with warm soapy water. For plantar warts (verrucas), gently file the surface with a pumice stone to remove the "cap" of dead skin for better penetration.
2. Application
Charge the applicator and hold it firmly against the centre. Use for 10-20 seconds for fingers/toes, or up to 40 seconds for the tougher skin on feet.
Choosing the Right Defence
| Feature | Common Warts | Plantar Warts (Verrucas) |
|---|---|---|
| Location | Hands, knuckles, and knees. | Soles of the feet. |
| Texture | Raised, "cauliflower" appearance. | Flat, pushed inward by pressure. |
| Treatment Difficulty | Responds quickly; thin skin. | Requires deeper penetration; thick callus. |
The Healing Horizon
The Immediate Aftermath
The area will turn white and feel numb. Within minutes, it may turn red or form a small blister. This is a normal inflammatory response as the body begins to lift the wart away.
The 10-14 Day Window
The wart will darken and form a scab. Do not pick at the lesion. Picking increases the risk of re-infection. The dead tissue will naturally slough off during normal activity.
While home kits are effective, professional advice is required if:
- The wart is located on the face or genitals.
- You have diabetes or poor circulation.
- There are signs of infection (pus, spreading redness, fever).
- The diagnosis is uncertain (bleeding or rapidly changing colour).
Preventing Recurrence
Wear Flip-Flops
Avoid barefoot contact in communal showers or pools.Footwear Hygiene
Sanitise shoes and change socks daily during treatment.No Sharing
Never share towels, nail clippers, or emery boards.